
How to Use Filter Templates
You can define a Filter Template for each filter type used in your store. The template controls how the filter type will appear and behave in each page that uses it. This maintains consistency throughout the store, making your filters easier to understand and use.
You can only define one default filter template per filter type. Where there is a special case, you can override the default template in any Filter Set by creating a custom filter. See ‘Pick a template’ under the help for Filter Sets.
Filters created using the Config Wizard will have filter templates created automatically. If you use ‘Manual Setup’ instead, you will need to create them by hand.
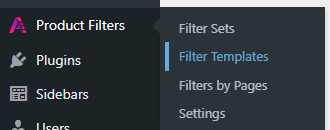
To add, edit and delete Filter Templates, either click or hover over the ‘Product Filters’ option in the WordPress sidebar, and select ‘Filter Templates’:
If you used the Config Wizard, the Config Wizard will have created a template for each filter that you defined with it. Otherwise, the ‘Filter templates’ list will be empty.
How to Edit or Delete a Filter Template
To edit an existing template, mouse over it in the list and
click ‘Edit’. The available options are described under ‘Add New Filter
Template’ below.
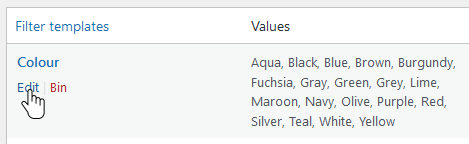
To delete the template, click ‘Bin’.
How to Add a New Filter Template
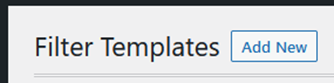
To create a new filter, click ‘Add New’ at the top of the page body:
Next, define the settings for your new template.
- Filter. Set the filter type by selecting the data that you want to filter on. The choices include, but may not be limited to:
- Attribute Filters
- Select from attributes associated with the products in your store, which may include:
- Product Brand – filter products by brand
- Colour – filter products by colour
- Product Material – filter products by material
- Product Size – filter products by size
- Product Tag – filter products according to their tags
- Non-Attribute Filters
- Select from other properties associated with the products in your store, which may include:
- Price – filter products by price range
- Discounts – filter products by the level of discount offered
- In stock – filter products by availability; choose all products, or only products in stock
- On sale – choose all products, or only products with offers
- Your choices for the options that follow will depend on the Type of data being filtered.
- If a filter type already has a template defined, it will be greyed out and unavailable for selection. You can only define one default filter template per filter type.
- Title. Whatever you enter here will be used as the title of the filter in the sidebar of your web pages.
- Description. You can enter a description of the filter if you wish to.
- Clear Button Text. If required, you can change the text that will appear on the ‘Clear’ button for this filter. When customers click this button it will clear their current selection for this filter. We recommend using the same ‘Clear’ button text for all your filters.
- Empty Options Text. This text will appear when none of the options for this filter would return any products. For example, if other filter selections have already eliminated all products that have values set for this filter.
- Mechanism. Defines how the filter selections will be displayed and applied. The Preview at the bottom of the panel will show how your selected Mechanism will appear online.
The options available in each case will depend on the filter type, but will be taken from the following:- Checkboxes: display the options as a series of checkboxes.

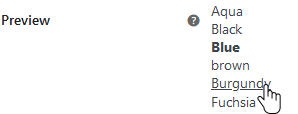
- Links: display the options as a series of clickable and multi-selectable links. Options clicked by the customer will be emboldened.
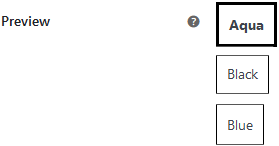
- Link Boxes: display the options as a series of clickable and multi-selectable boxes. Options clicked by the customer will be emboldened.
- Dropdown (single select): display the options as a drop-down list from which any one option may be selected.
- Dropdown (multi select): display the options as a drop-down list from which multiple options may be selected using Ctrl-click or Shift-click.

- Ranges: for filtering by Price and Discount you can define a set of value ranges for customers to filter by. If this option is selected, the actual value ranges are defined under Labels (see below).

- Note: this is the only Mechanism available for filtering by Discount.
- Slider: for filtering by Price you can choose the option of a Slider, which enables customers to define their own price range using an analog-style slider control.

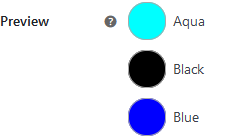
- Swatches: display the options as a series of clickable and multi-selectable swatches. Each swatch may be either a colour or an image, definable under ‘Labels’ below.
- The initial state of each swatch will depend on your current Woocommerce theme, but you can customise them to your own requirement by changing the Label (see below).
- Switch: a filter by ‘In Stock’ or ‘On Sale’ can be displayed graphically as an analog-style switch, which customers can click to change:

- Show counts. If this option is selected, the number of matching products will be shown in brackets against each filter option.
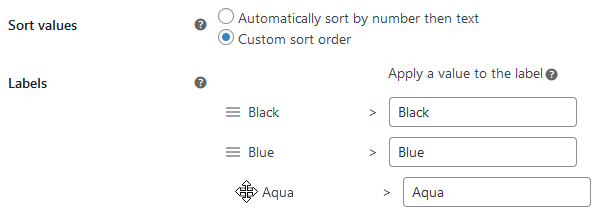
- Sort values. By default Acsell Product Filters will sort filter values alphanumerically. You can create a Custom sort order by dragging and dropping the values into different positions under ‘Labels’ (below).
- Labels. The options will depend on the Mechanism chosen. Some Mechanisms may not require any option to be selected here. The ones that may appear here are:
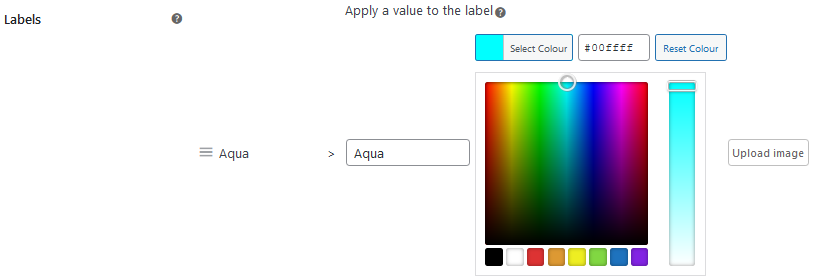
- Swatches. Each swatch can display either a colour or an image.
- To change the colour of a swatch, click ‘Select Colour’. You can click in the colour picker to select a new colour or enter a hex value. Click anywhere in the page to collapse the colour selector.
- To replace the colour with an image, click ‘Upload image’. Select the ‘Upoad files tab, then either drag and drop a file from Windows Explorer or click ‘Select Files’ and browse. The image will be added to the Media Library. Click on the image there, then click ‘Select’ to apply it to the swatch.

- If an image is selected then it overrides the chosen colour for the swatch.
- To show only the swatch or image and not the name of the colour, tick ‘Hide colour name’.
- To clear the selected image click the [x] icon next to it.
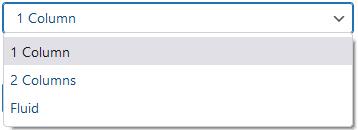
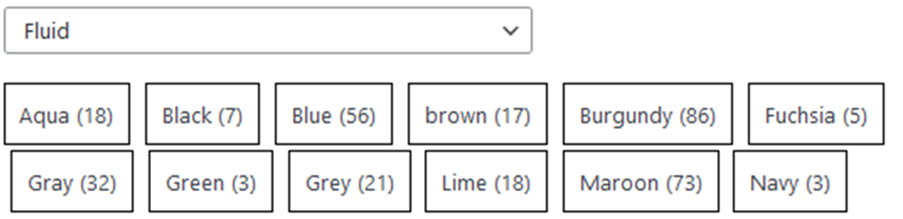
- Columns. Some options, including Checkboxes, Links and Swatches, may be displayed in either one or two columns; or horizontally, wrapping as they fit (‘Fluid’).
- Search Box. If set to ‘Yes’ then a search box will appear at the top of the list of options. Typing characters into the search box will limit the options to those that match’. This can be useful for filters with a large number of options.
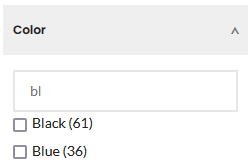
- Show search box when more than… Set a value higher than 1 if you don’t want the search box to appear when there are only a few options. For example, if you set the value to 10 then the search box will only be displayed if the number of valid options for the filter is 11 or more.
- The settings for the search box are specified separately for Desktop and Mobile displays.
- Use Show More/Less at. If a filter has a large number of options, you can choose to display it initially in a partially-compressed style, showing only the first option and a ‘Show More’ link:
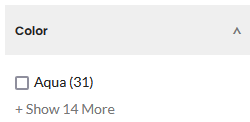
- If the customer clicks ‘Show More’, the filter will be expanded to show all the options, and a ‘Show Less’ link will appear at the bottom.
- Note: The ‘Show Less’ link will be hidden if any option for the filter is selected. This style of presentation can be used as well as, or instead of, the Search Box.
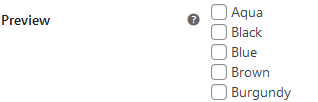
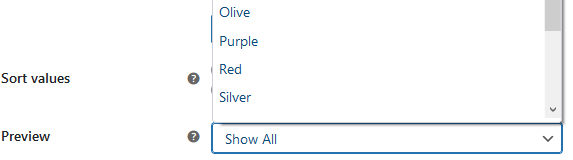
- Preview. Shows a preview of the filter as it will appear in the web page sidebar, according to the options you have selected above.
When you have finished creating or editing your Filter Template, scroll up and click the ‘Update’ button under ‘Publish’ to make it available for use.
After creating a Filter Template manually, you must also add the corresponding filter type to a Filter Set in order for it to appear in your web pages. See ‘How to Use Filter Sets’for instructions.