How to Filter Products by Attribute in WooCommerce: Complete Guide (2022)

WooCommerce is almost a go-to e-commerce platform. However, navigation can be frustrating in its default state. One reason for this is the lack of filtering within the ‘vanilla’ WooCommerce installation. With third-party support, WooCommerce can filter by attribute – and it’s a feature you’ll want to learn about.
Filtering by attribute can help your customers narrow down a vast selection of similar items. If your online store offers many different product variations, attribute filtering is one way you can guide a buyer to the right product. The good news is it’s something you can set up within minutes.
For this tutorial, we’re going to show you how WooCommerce can filter by attribute. First though, we’re going to talk about what product attributes are, then discuss why you should filter by them.
What Product Attributes Are
You should already understand what attributes are, even if the term is new to you. When you discuss the different aspects of a product, those are the attributes. The size, weight, color, shape, brand, and much more are all good examples.
However, any identifying feature of a product could be an attribute, as can any specific facet. Televisions, for example, will use screen size or resolution – which are both attributes.

Knowledge is power, and this is especially true for e-commerce sites. You’ll want to give your potential customers all of the details about each WooCommerce product in your line. This can help them judge whether a product is right for them, and present fewer questions with unresolved answers.
You’ll also find that the greater number of attributes you present for a product, the better the User Experience (UX) will be. The outcome is more purchases, which results in greater income for you.
Why You Should Enable Attribute Filtering For Your E-Commerce Website
If you only provide the option to search for your products on your WooCommerce site – for example, using the default product search functionality – you give the shopper an implicit instruction. In a nutshell, you tell them that they should only look for the item they came to your site for, without exploring any further.
However, if you give a customer a greater scope with regards to choice, they will be able to find the product they need quicker and with more accuracy. What’s more, they might find items they didn’t know they needed until visiting your site. Attribute filtering is one way to present other choices while providing the ability to find exact products.
For example, consider a large apparel catalog. This can be an unwieldy set of various items and category pages, with a huge number of attributes and variations.
Search functionality can be effective. For example, if you type in “t-shirts” you will likely see some results. However, this won’t provide many opportunities to see the different variations of that product.
Instead, you can let the customer choose from a range of attributes. This way, they’re able to pull up all of your products that offer a red color. This could include t-shirts, hats, hoodies, and more. Of course, you could also combine attributes to narrow down the lines even further.
On the whole, that WooCommerce can filter by attribute (with help) means you have a more flexible store. It gives your customers the opportunity and ability to self-serve their needs – vital for UX, brand loyalty, and returning shoppers.
How to Enable WooCommerce to Filter By Attribute
While it may not seem that way, WooCommerce provides a full-featured e-commerce experience and it’s ready to go out of the box. This includes basic filtering options, but for most use cases, you’ll find there’s a lack of flexibility and usability.
There’s also another big drawback, in that you have limited options to filter by attribute. As such, you’ll need to find a third-party solution to help you either add more filter options or replace the default WooCommerce filters with ones that let you apply attribute filtering. In the next section, we’ll discuss our top choice.
How WooCommerce Can Filter By Attribute Using the Acsell Product Filters Plugin
While there are a lot of WooCommerce product filter plugins for WordPress, there’s only one that can offer the right blend of features, functionality, usability, and price to meet most of the needs of your WooCommerce site.
Over the rest of this tutorial, we’ll introduce the Acsell Product Filters plugin, discuss some of its features, then show you how WooCommerce can filter by attribute using the plugin. Let’s take a look.
Introducing Acsell
As one of many WordPress plugins that can help you expand your filtering system, Acsell stands out. Of course, it lets you take control of basic filters, but it can add much more.
For example, you can create customizable groups of filters to help shoppers find products with more accuracy. In fact, you can create multiple filter groups as you need for different types of products. From there, you can apply them on a store-wide basis, or only for specific product categories.
Here’s a summary of what Acsell Product Filters can do:
- You get to filter by almost any attribute you have within WooCommerce. This could be price, categories, product tags, other taxonomies, whether the item is on sale, and more.
- Of course, you can also filter by attribute if you wish!
- There is built-in flexibility with Acsell Product Filters, in that you can customize them using the built-in options, and place them in the sidebar using a filter widget.
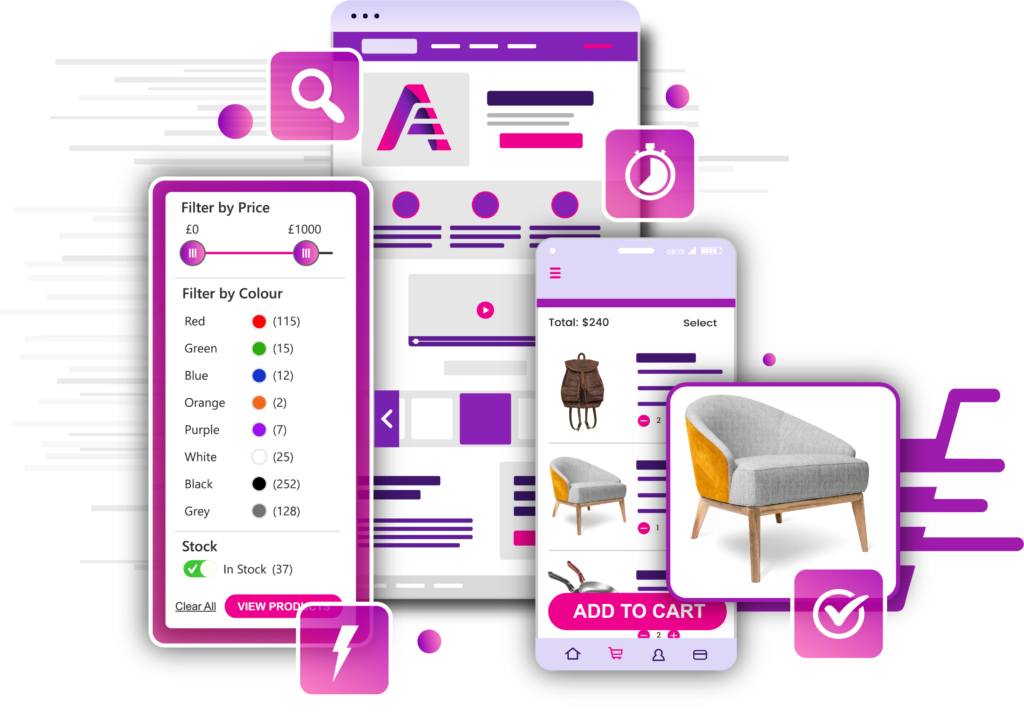
- There are lots of filter elements available, such as drop-down menus, sliders, checkboxes, color swatches, logo images, and many more. This gives your filters a dynamic presentation and keeps the display fresh for the customer.
You’ll also find Acsell Product Filters provides advanced functionality that you can’t find in lots of competing plugins. For example, it can offer instant filtering options, dynamic product counts, and more.
Part of the reason the plugin performs well is due to its under the hood technology. It uses AJAX rendering to keep the number of page loads and refreshes to a minimum. This means you will see faster – near instant – loading times and performance regardless of your setup. Speaking of which, let’s take a look at how you can configure and use Acsell Product Filters in the next section.
How You Can Add New Attribute Filters Using Acsell
Your first step will be to make sure you purchase, install, and activate Acsell Product Filters on your WordPress website. The plugin will hold your hand through the process using the Config Wizard:
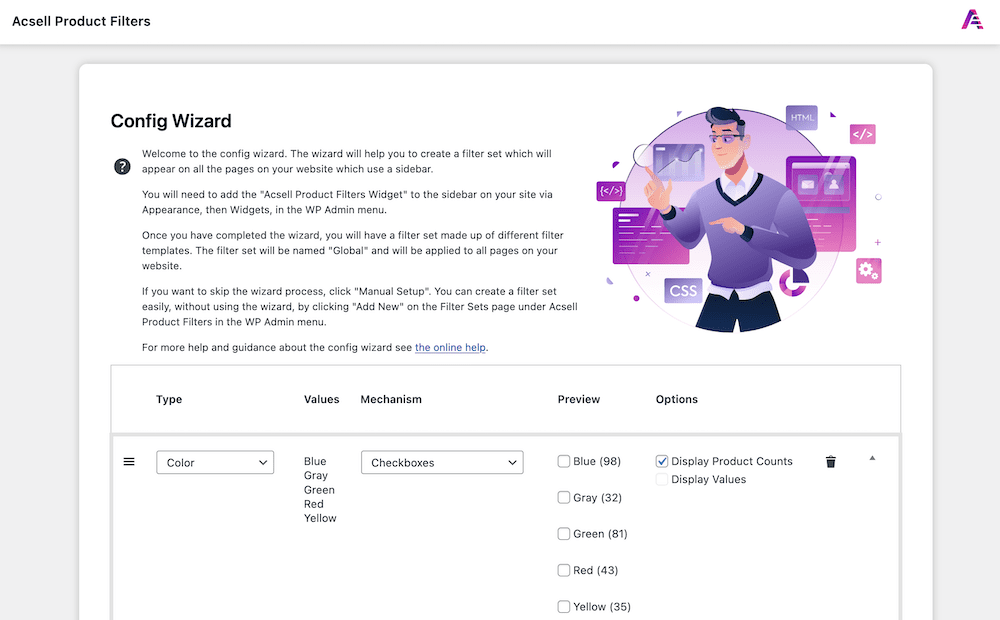
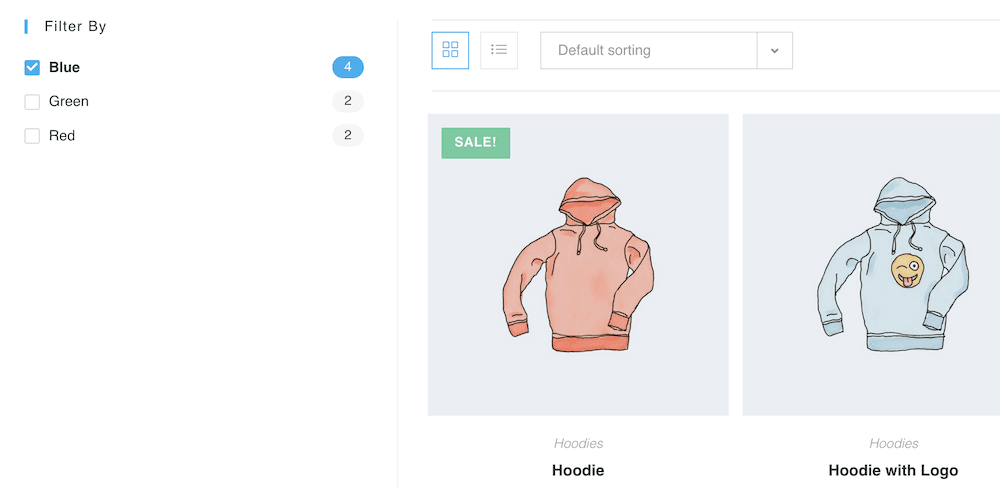
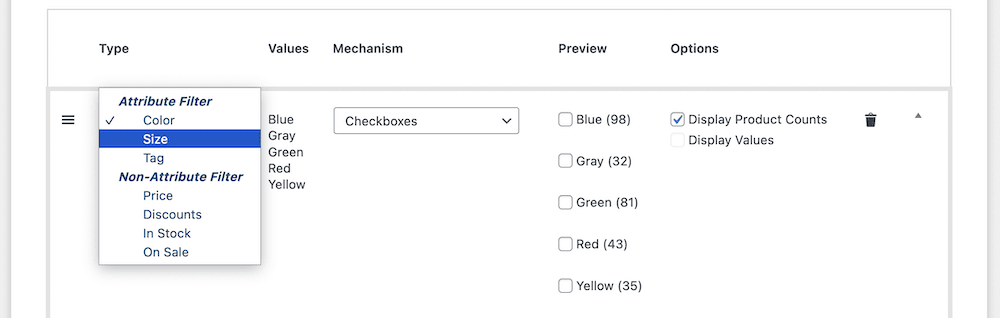
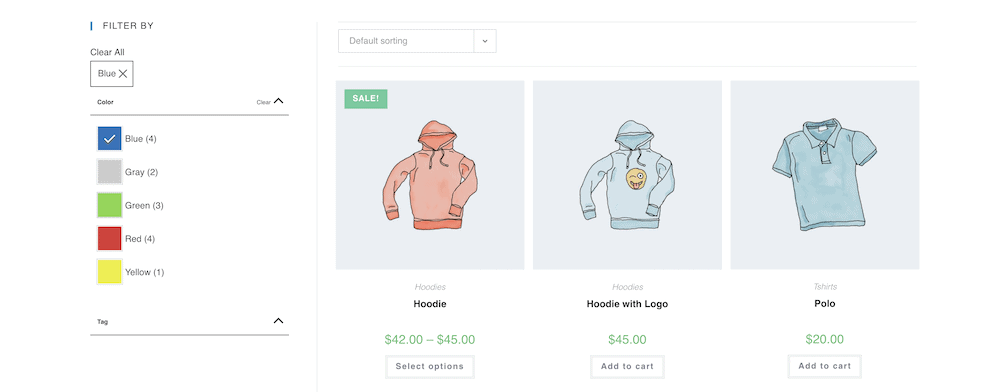
In fact, this will create your initial filters – our example uses colors, which means from the off, WooCommerce will filter by attribute. However, you can choose from any number of available attribute and non-attribute filters:
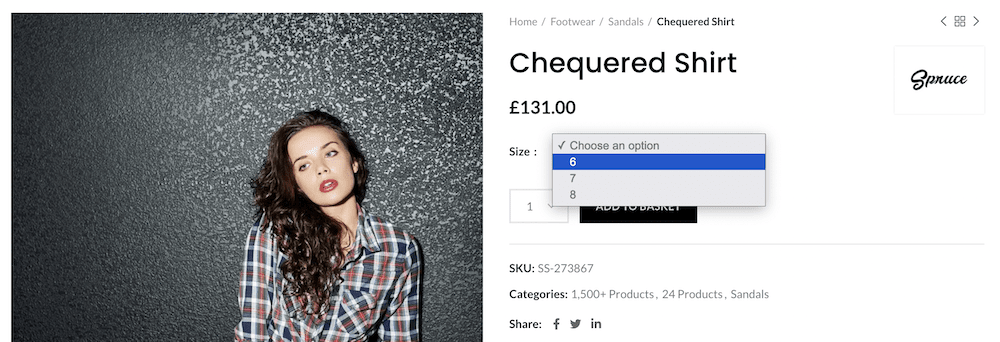
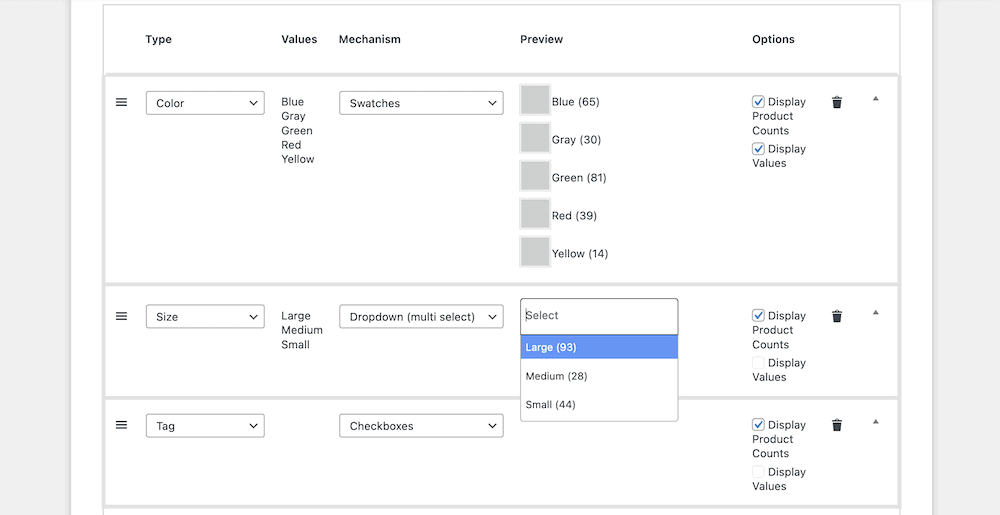
You can also choose a ‘mechanism’ to display to the filter. The default here is using checkboxes. However, depending on the filter you choose, there are different options available. For example, attributes will often provide a choice such as swatches, links, drop-down menus, and checkboxes. However, non-attributes can also offer sliders and range selections:

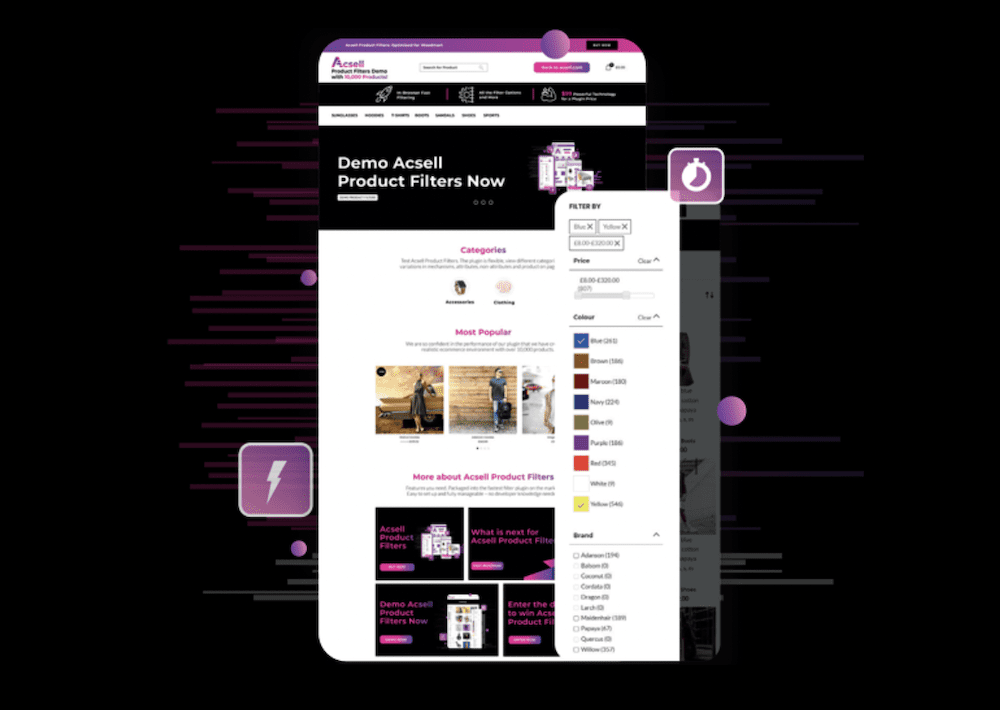
In lots of cases, you won’t have to leave the Config Wizard in order to set filters up. You’re able to add multiple filters here, set the necessary options, and even see a preview of how the filters will look on the front end:
Once you save your changes, you’ll need to display the filters on the front end, which is straightforward to do.
Displaying Your WooCommerce Product Filters
There are two ways you can display filters on your WooCommerce shop. The typical approach is to use a widget. You can find these on the Appearance > Widgets screen within WordPress, where you’ll choose the Acsell Product Filters Widget Block, and add it to the WooCommerce Sidebar section:
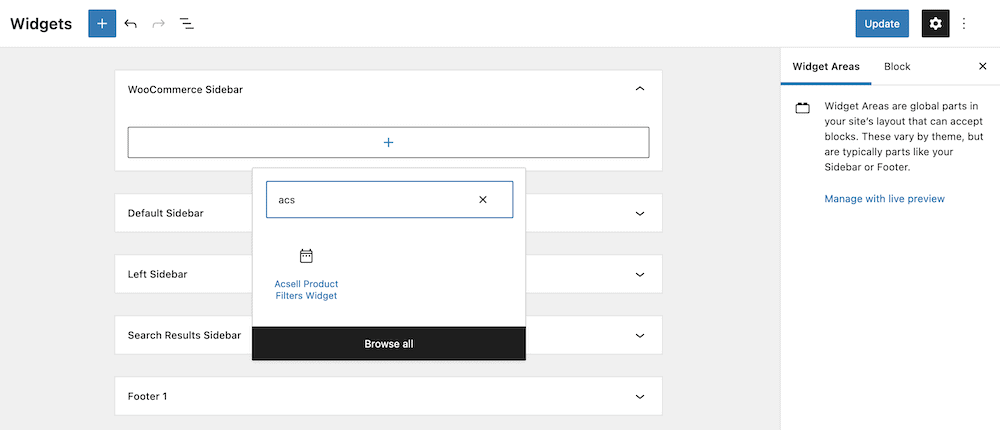
Once you add this and update your changes, you’ll be able to see the filters in place on the front end of your site:
Acsell Product Filters is super simple to set up, use, and manage. The whole installation and setup time takes a couple of minutes, and the power of product filtering by attribute is yours forever.
Conclusion
There are lots of ways to enable buyers to find and display products on your WooCommerce store. However, there are fewer ways that offer more impact than attribute filtering. If you give a shopper the ability to show all products with a certain attribute, you have further ways to show related products and the item they want to find.
WooCommere can’t filter by attribute by default, but a dedicated WordPress plugin can help. Acsell is a WooCommerce product filter plugin that offers instant loading times and provides lots of customization. While other solutions don’t let you position the filter boxes or apply individual styling to attribute groups, Acsell does – including with CSS if you have that knowledge. It’s why thousands of users turn to Acsell to power product filtering on their WooCommerce stores.
You can try Acsell for free with a seven-day trial.
Acsell Product Filters
This is a 7 day free trial, so you can try Acsell Product Filters for yourself.
7 day Free Trial Acsell Product Filters Plugin
No credit card details required